Tel: (516) 543-1297

The Timeline for Replacing Your Pool’s Vinyl Liner
a blog by userOver time, even the best-maintained pools will require liner replacement. A vinyl pool liner does more than just give your pool a smooth, attractive surface—it helps keep the water in the pool and protects the underlying structure from damage. When your pool’s liner starts showing signs of wear such as fading, cracks, or leaks, it’s time to consider replacing it.
Understanding the timeline for replacing your pool’s vinyl liner can help you plan and minimize downtime during the swimming season. In this blog, we’ll outline the typical steps involved in replacing a pool liner and provide an estimated timeframe for each part of the process.
Signs It’s Time to Replace Your Pool’s Vinyl Liner
Before jumping into the replacement process, it’s important to recognize when your pool liner needs replacing. Common signs include:
- Cracks and Tears: Over time, liners can develop small cracks or tears that may worsen and lead to water leaks.
- Fading and Discoloration: Prolonged exposure to sunlight and pool chemicals can cause the liner’s colors to fade, reducing the pool’s aesthetic appeal.
- Stretching or Wrinkles: A liner that no longer fits snugly against the pool walls or has noticeable wrinkles is a sign of wear.
- Leaks: Persistent water loss despite regular maintenance can indicate that your liner is leaking and needs replacement.
Step-by-Step Process for Replacing a Pool Vinyl Liner
Replacing a pool’s vinyl liner involves several key steps. Below is a detailed timeline and instructions to guide you through the process.
Step 1: Measure the Pool (1-2 Days)
Before ordering a replacement liner, precise measurements of your pool are necessary. These measurements include the length, width, depth, and shape of the pool. Accurate measurements ensure the new liner fits perfectly.
- Tip: Work with a professional or follow a manufacturer’s guide for measuring irregular-shaped pools.
- Timeframe: This step usually takes 1 to 2 days, including verification and consultation with the liner supplier.
Step 2: Order the New Liner (2-4 Weeks)
Once measurements are complete, the next step is ordering the new liner. Custom liners can take several weeks to manufacture, especially during peak pool season.
- Tip: Order your liner early in the season to avoid delays.
- Timeframe: Expect a waiting period of 2 to 4 weeks for the liner to be delivered (custompoolliners.com).
Step 3: Drain the Pool (1 Day)
Draining the pool is necessary before removing the old liner. Ensure that you have a proper drainage system to direct water away from the pool area.
- Tip: Check local regulations regarding pool water drainage.
- Timeframe: Draining a standard residential pool takes around 6 to 12 hours, depending on the pool size and drainage system.
Step 4: Remove the Old Liner (1 Day)
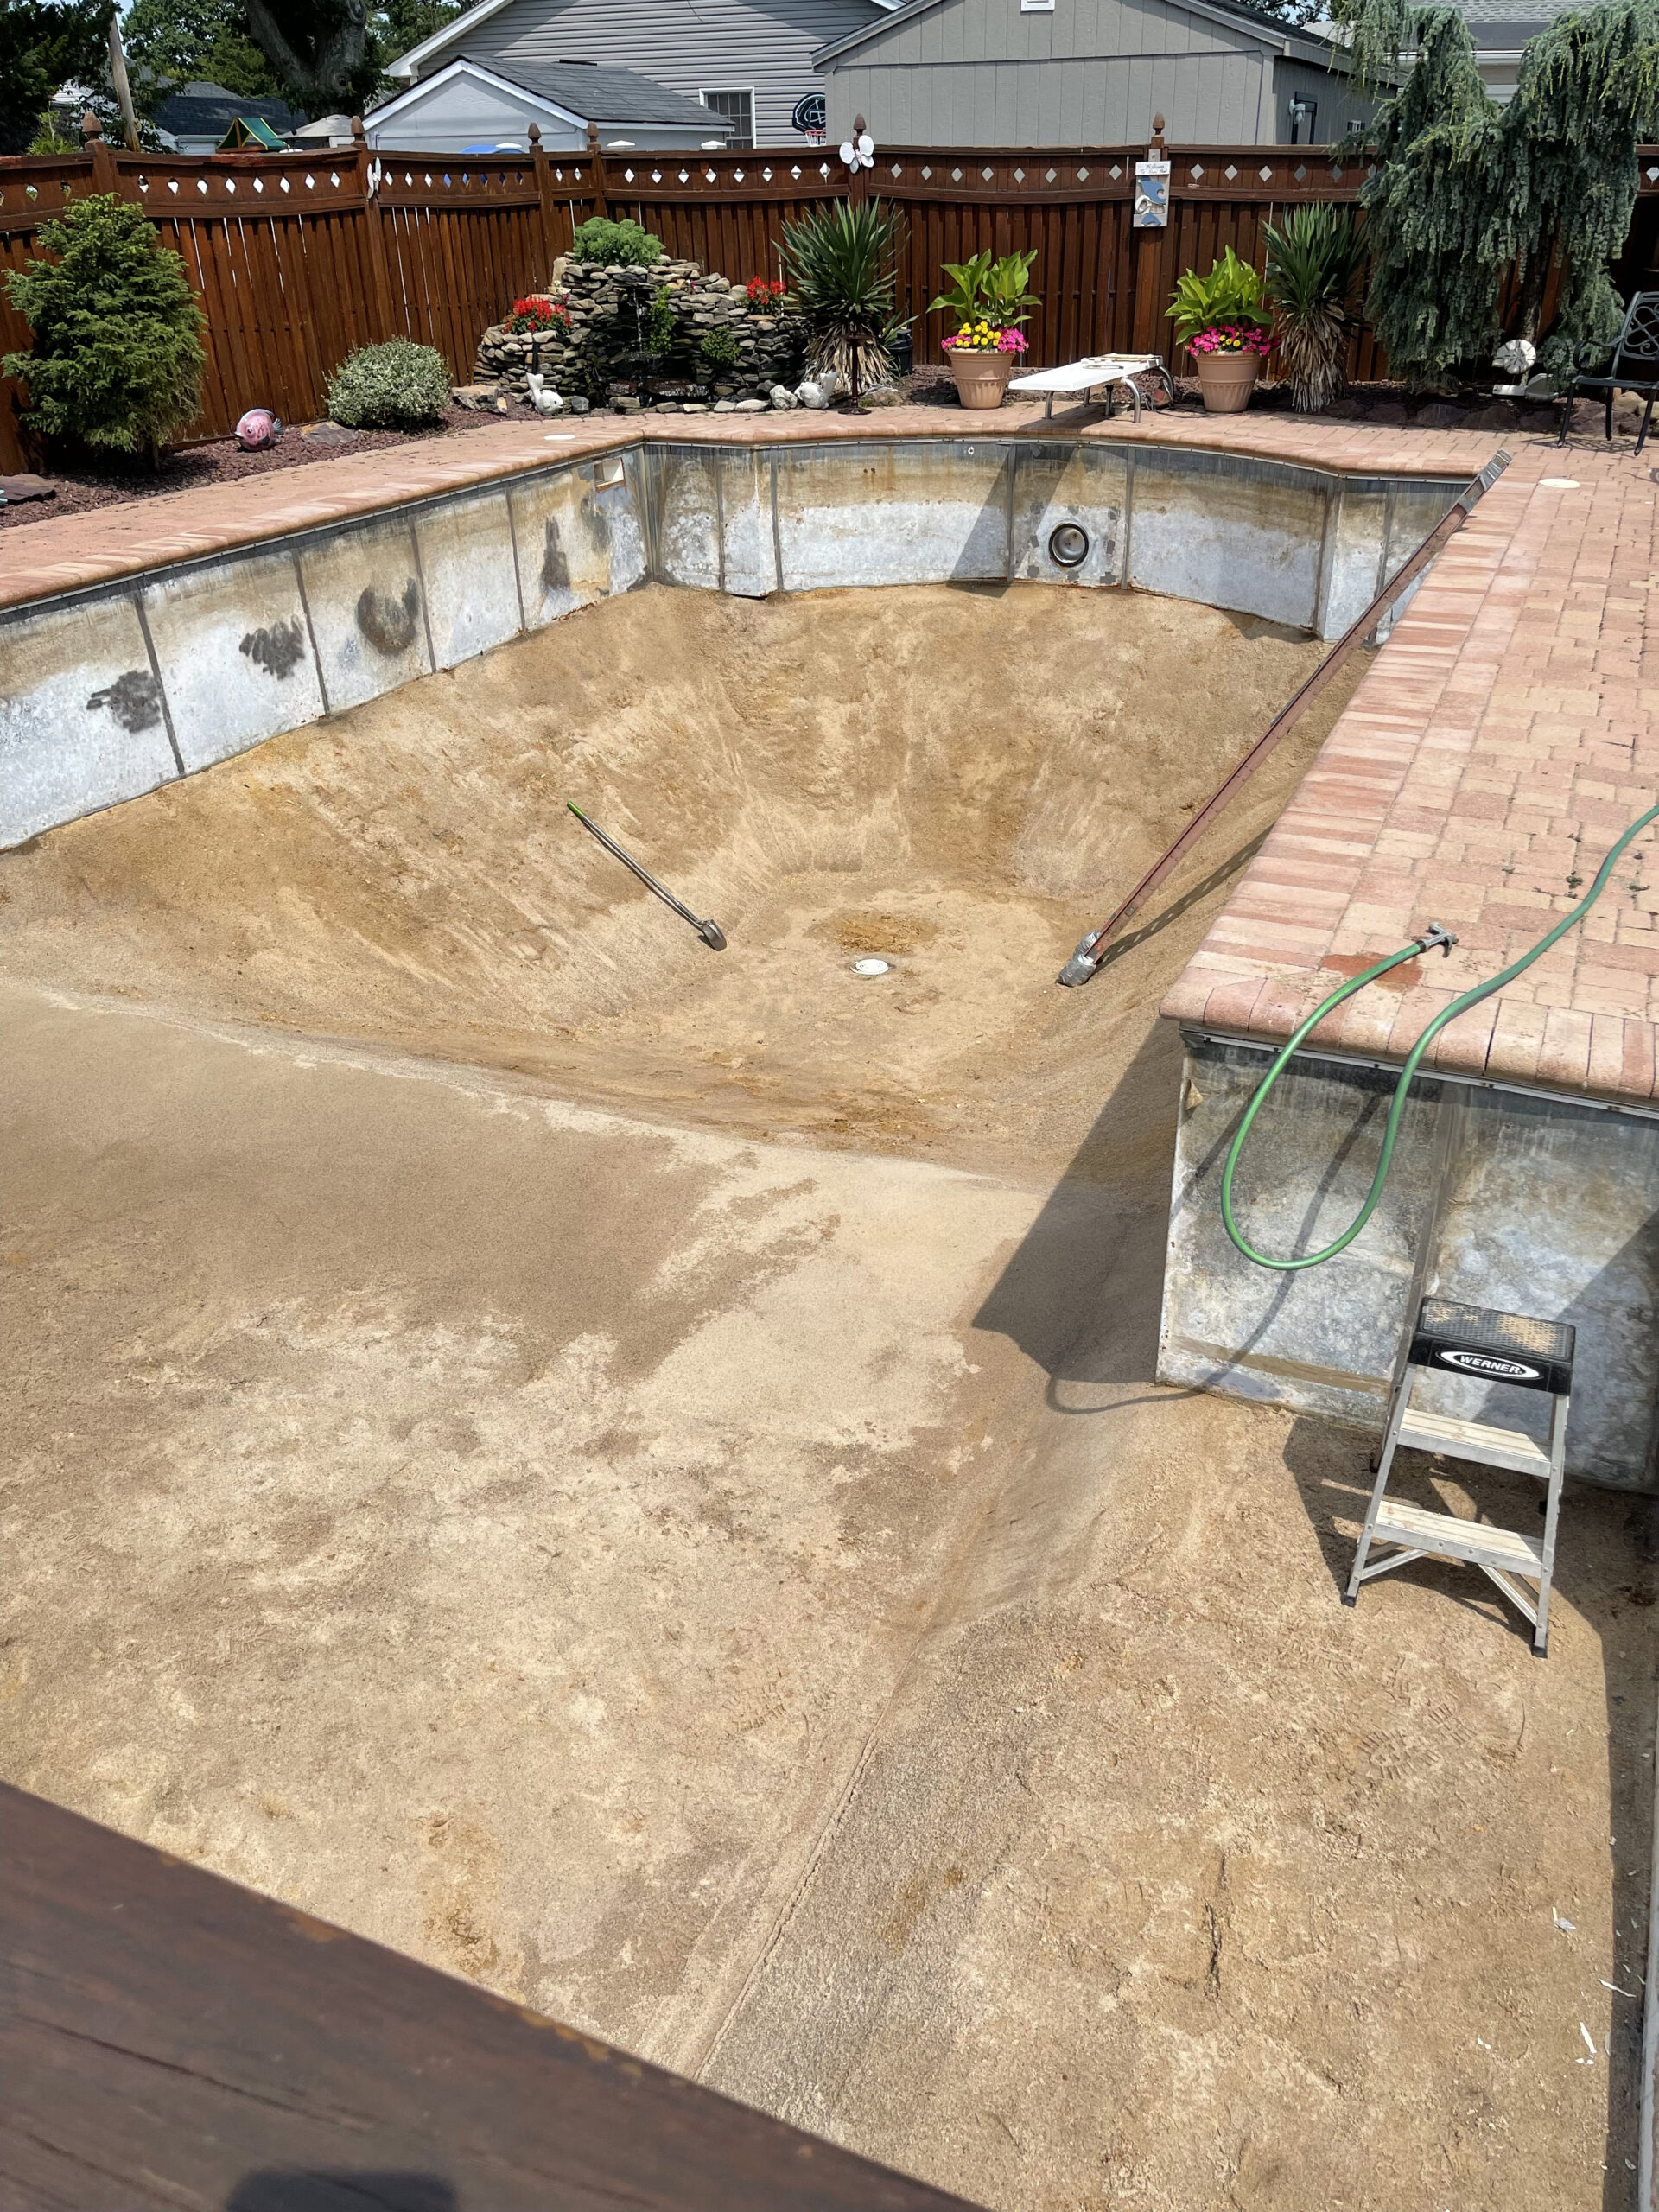
After the pool is drained, the old liner can be removed. This involves detaching it from the coping track and cutting it into smaller pieces for disposal.
- Tip: Inspect the pool walls and floor for damage or debris once the liner is removed.
- Timeframe: This step typically takes 4 to 6 hours.
Step 5: Prepare the Pool Surface (1-2 Days)
Preparing the pool surface involves cleaning and inspecting the walls and floor for any cracks, rust, or debris. Any minor repairs should be completed during this phase.
- Steps:
- Clean the surface thoroughly to remove dirt and algae.
- Smooth out any rough spots on the walls or floor.
- Apply a pool liner pad if desired, for added protection and comfort.
- Timeframe: 1 to 2 days, depending on the condition of the pool.
Step 6: Install the New Liner (1 Day)
Once the pool surface is prepared, it’s time to install the new liner. This step requires precision to ensure a smooth fit.
- Steps:
- Position the liner over the pool and carefully unfold it.
- Attach the liner to the coping track, ensuring it aligns correctly.
- Use a vacuum to remove air pockets and ensure the liner fits snugly against the walls and floor.
- Tip: Work slowly and methodically to avoid wrinkles or misalignment.
- Timeframe: Installing the liner takes around 6 to 8 hours.
Step 7: Refill the Pool (1-2 Days)
Once the liner is securely in place, refill the pool with water. Use a garden hose or, for faster results, arrange for water delivery from a local service.
- Tip: Monitor the liner during the filling process to ensure it remains properly positioned.
- Timeframe: Refilling the pool can take 1 to 2 days, depending on water pressure and pool size.
Step 8: Balance the Water Chemistry (1 Day)
After the pool is filled, balance the water chemistry by testing and adjusting pH, alkalinity, and chlorine levels. Proper water balance protects the liner and ensures a safe swimming environment.
- Tip: Use a pool test kit or consult a professional for accurate chemical balancing.
- Timeframe: This step typically takes a few hours.
Total Timeline for Replacing a Pool Vinyl Liner
Summing up all the steps, the total timeline for replacing a pool’s vinyl liner ranges from 3 to 6 weeks. The time can vary based on factors such as custom liner production times, weather conditions, and the availability of professional services.
Factors That Can Affect the Timeline
- Weather: Rain or extreme temperatures can delay outdoor work.
- Availability of Contractors: During peak season, pool contractors may have longer lead times.
- Customizations: Special designs or patterns on the liner may require additional production time.
- Pool Size and Shape: Larger or irregular-shaped pools take more time to measure and prepare.
Tips for a Smooth Liner Replacement Process
- Plan Ahead: Start the replacement process early in the season to avoid peak demand periods.
- Choose a Quality Liner: Investing in a high-quality liner ensures durability and longevity.
- Hire a Professional: While DIY replacement is possible, hiring a professional ensures proper installation and minimizes errors.
- Maintain Your Liner: Regularly clean and maintain your liner to extend its lifespan and reduce the frequency of replacements.
Conclusion
Replacing your pool’s vinyl liner is a necessary part of pool ownership that ensures your pool remains functional and visually appealing. By understanding the typical steps and timeline involved, you can plan accordingly and minimize downtime during the swimming season.
Whether you choose to handle the replacement yourself or hire a professional, proper preparation and attention to detail are key to a successful liner replacement. With a new, properly installed liner, your pool will be ready for many more seasons of enjoyment.
Looking for more articles
from Big Becks?
Recently published
Mar. 31, 2025
5 Creative Ways to Use Pavers Around Your Pool and Patio
Mar. 15, 2025
Why LOOP-LOC Safety Covers Are a Must for Winter Pool Care

Mar. 01, 2025
Benefits of Upgrading Your Pool Liner to a LOOP-LOC Liner
Feb. 15, 2025
How to Prepare Your Pool for a Vinyl Liner Replacement
Feb. 01, 2025