Tel: (516) 543-1297
How to Prepare Your Pool for a Vinyl Liner Replacement
a blog by userReplacing your pool’s vinyl liner is an essential part of pool maintenance, helping to keep your pool functional, attractive, and leak-free. Proper preparation before the replacement process can ensure that everything goes smoothly and minimize potential issues. Whether you’re planning to hire a professional or tackle the job yourself, preparing your pool correctly is key to a successful liner replacement.
This guide provides a detailed checklist and step-by-step instructions on how homeowners can prepare their pools for vinyl liner replacement.
Why Preparation Is Important
Proper preparation ensures that your new liner fits perfectly and lasts as long as possible. Skipping key steps can lead to issues such as improper fitting, wrinkles, and leaks, which can increase costs and require additional repairs. By following a thorough preparation process, you can ensure a smooth installation and maximize the lifespan of your new liner.
Checklist for Preparing Your Pool for a Vinyl Liner Replacement
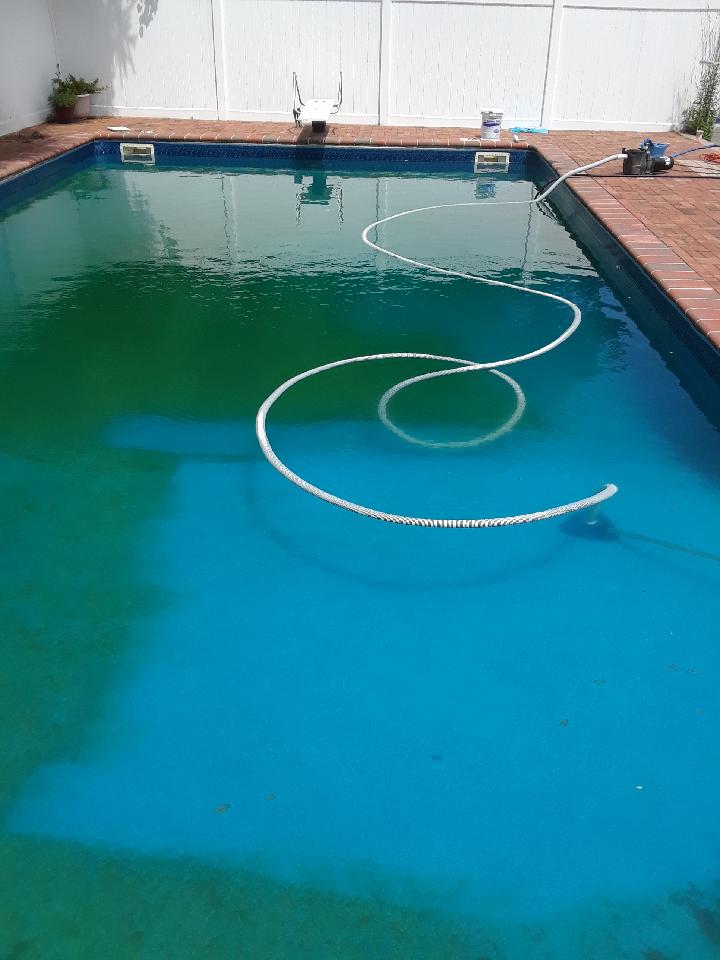
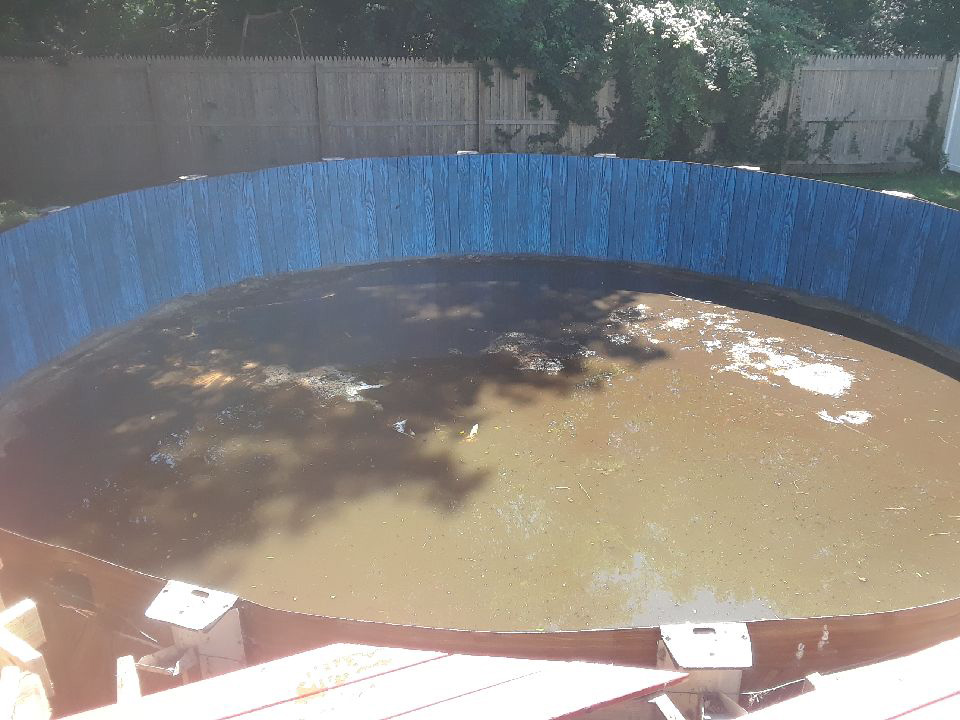
- Drain the Pool
Draining the pool is the first and most critical step in preparing for a vinyl liner replacement.
- How to Drain the Pool: Use a submersible pump to remove the water. Ensure that the pump is placed at the deepest point of the pool.
- Where to Drain the Water: Check local regulations to ensure that you are draining the pool water in an environmentally friendly manner.
- Tip: Monitor the draining process to prevent the pump from running dry.
Timeframe: This step typically takes 6 to 12 hours, depending on the size of your pool and the capacity of your pump.
- Remove the Old Liner
Once the pool is drained, the next step is to remove the old vinyl liner.
- Detach the Liner: Start by removing the coping strips or beads that hold the liner in place.
- Cut the Liner into Sections: Cutting the liner into manageable pieces makes it easier to remove.
- Dispose of the Liner Properly: Check with your local waste management service for disposal guidelines.
Timeframe: Removing the old liner can take 4 to 6 hours, depending on the size of the pool and the condition of the liner.
- Inspect the Pool Walls and Floor
With the old liner removed, it’s important to inspect the pool walls and floor for damage.
- Look for Cracks or Rust: Check for any cracks in the walls or signs of rust that may need to be treated.
- Check for Debris: Remove any debris, such as small rocks or sharp objects, that could puncture the new liner.
- Level the Floor: Ensure that the pool floor is level and free of bumps.
Tip: If you find significant damage, consult a professional to make repairs before proceeding.
- Clean the Pool Surface
A clean surface is essential for proper liner adhesion.
- Sweep and Vacuum: Remove any remaining debris from the pool floor and walls.
- Wash the Walls and Floor: Use a mild detergent and a soft brush to clean the pool surface.
- Rinse Thoroughly: Ensure that no soap residue is left behind, as it can interfere with the liner installation.
Timeframe: Cleaning the pool surface typically takes 2 to 4 hours.
- Measure the Pool Accurately
Accurate measurements are crucial to ensure that the new liner fits perfectly.
- Measure the Length and Width: Take measurements at several points to ensure accuracy.
- Measure the Depth: Measure the depth at both the shallow and deep ends.
- Note the Shape: If your pool has curves or an irregular shape, take additional measurements to capture these details.
Tip: If you’re unsure about measuring, consider hiring a professional to do it for you.
- Prepare the Pool Perimeter
The area around the pool should also be prepared to ensure a smooth installation process.
- Clear the Area: Remove any furniture, plants, or obstacles near the pool.
- Trim Overhanging Branches: This prevents debris from falling into the pool during installation.
- Check for Drainage Issues: Ensure that water drains away from the pool area to prevent future problems.
Timeframe: Preparing the perimeter typically takes 1 to 2 hours.
- Gather Necessary Tools and Materials
Having the right tools and materials on hand can make the replacement process easier.
- Tools: Submersible pump, utility knife, tape measure, broom, vacuum, and brush.
- Materials: New vinyl liner, coping strips or beads, liner pad (optional), and cleaning supplies.
Tip: Check with your liner manufacturer for specific installation requirements and recommended tools.
- Check Weather Conditions
Weather plays an important role in vinyl liner installation.
- Choose a Dry Day: Ensure that the weather is dry and calm on the day of installation.
- Avoid Windy Conditions: Wind can make it difficult to position the liner correctly.
- Monitor Temperature: Ideally, the temperature should be between 60°F and 80°F for optimal liner flexibility.
- Schedule Professional Assistance (If Needed)
If you plan to hire a professional for the liner replacement, schedule the service in advance to avoid delays.
- Get Estimates: Request estimates from multiple contractors to find the best option.
- Check Credentials: Ensure that the contractor is licensed and experienced in vinyl liner installation.
- Confirm the Timeline: Ask for an estimated timeline to ensure that the job is completed before your desired swimming season.
Final Preparations Before Installation
On the day of installation, make a final check to ensure everything is ready:
- Double-Check Measurements: Ensure that the measurements match the liner specifications.
- Lay Out the Liner: Lay out the liner in a clean area to inspect for defects and allow it to warm up, making it easier to handle.
- Position the Vacuum: Set up a vacuum to help remove air pockets during the installation process.
- Have Extra Hands Available: Enlist the help of family members or friends to assist with positioning the liner.
Common Mistakes to Avoid
- Rushing the Process: Take your time to ensure each step is done correctly.
- Skipping the Cleaning Step: Debris left behind can puncture the new liner.
- Ignoring Weather Conditions: Poor weather can result in improper liner fitting.
- Improper Measurements: Accurate measurements are crucial to avoid fitting issues.
Conclusion
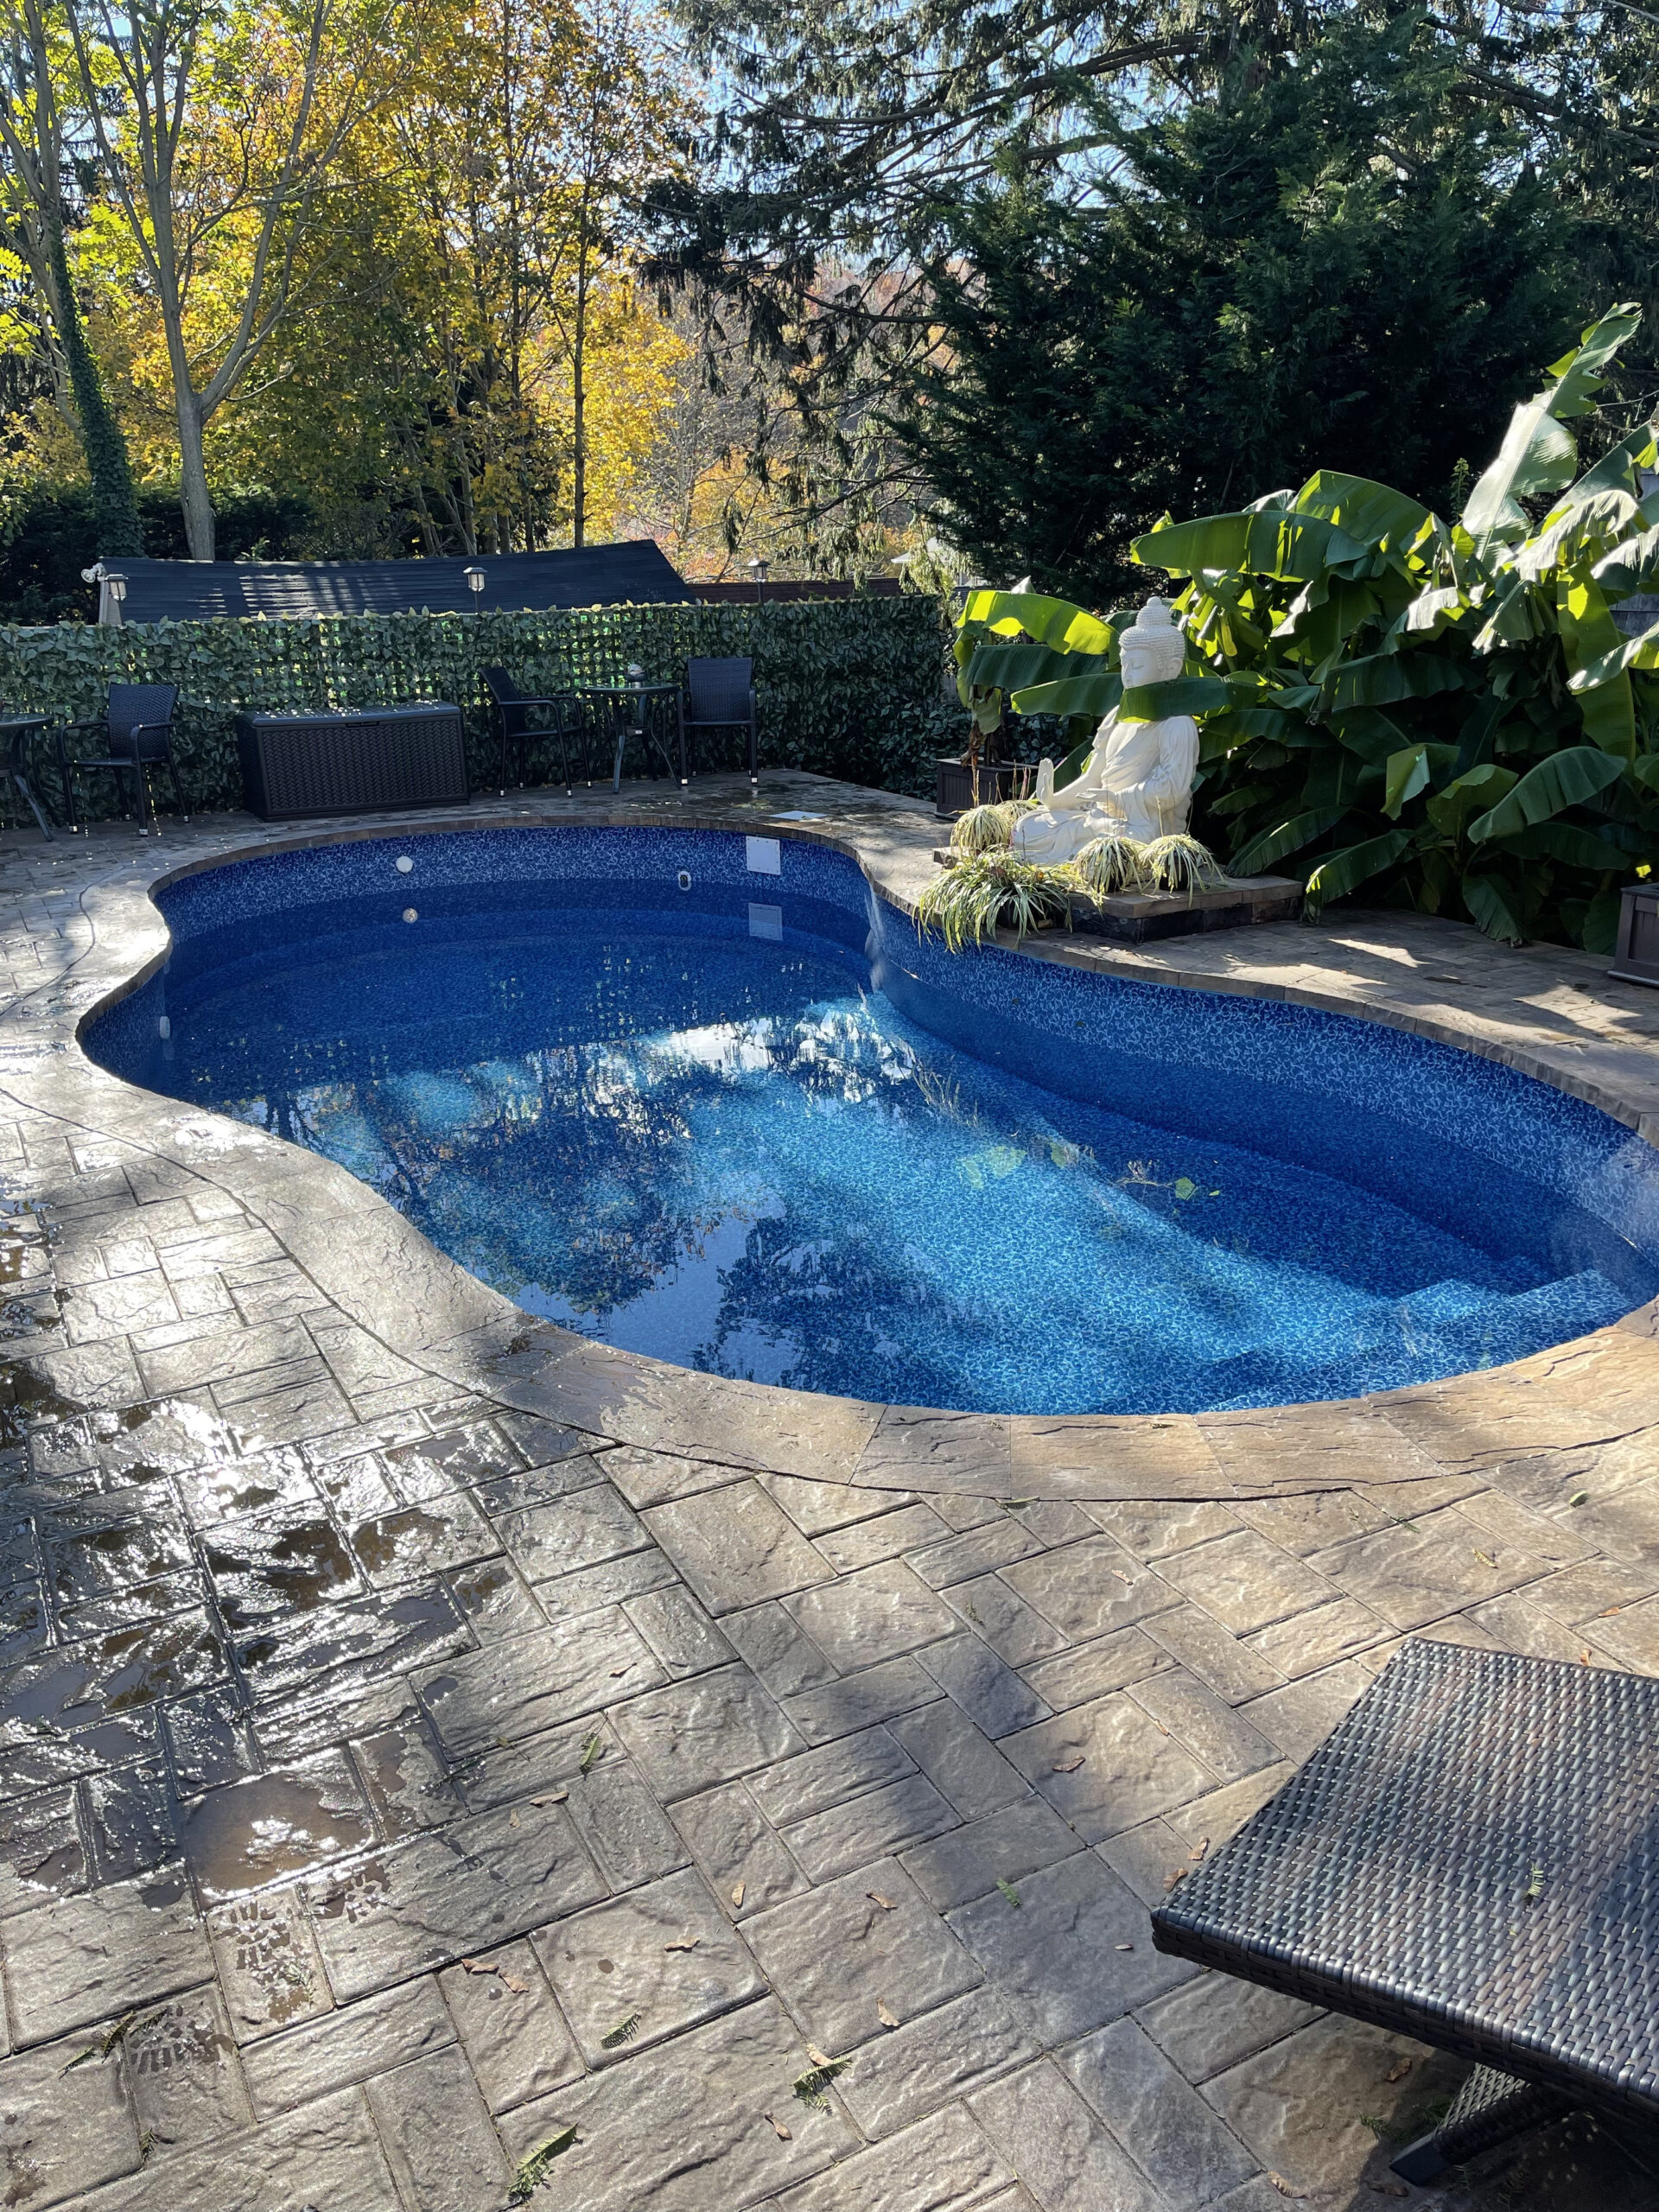
Preparing your pool for a vinyl liner replacement involves several critical steps, from draining the pool and removing the old liner to cleaning the surface and measuring accurately. Following a detailed checklist ensures that the process goes smoothly and that your new liner is properly installed for long-lasting results.
Whether you’re doing the replacement yourself or hiring a professional, proper preparation is key to a successful outcome. By taking the time to prepare your pool correctly, you can enjoy a beautiful, functional pool for years to come.
Looking for more articles
from Big Becks?
Recently published
Mar. 31, 2025
5 Creative Ways to Use Pavers Around Your Pool and Patio

Mar. 15, 2025
Why LOOP-LOC Safety Covers Are a Must for Winter Pool Care

Mar. 01, 2025
Benefits of Upgrading Your Pool Liner to a LOOP-LOC Liner
Feb. 15, 2025
How to Prepare Your Pool for a Vinyl Liner Replacement
Feb. 01, 2025